fastdup: A Powerful Tool to Manage, Clean & Curate Visual Data at Scale on Your CPU - For Free.


Table of Contents
⏳ Last Updated: March 27, 2023.
✅ Motivation
As a data scientist, you might be tempted to jump into modeling as soon as you can. I mean, that’s the fun part, right?
But trust me, if you skip straight to modeling without taking the time to really understand the problem and analyze the data, you’re setting yourself up for failure.
I’ve been there.
You might feel like a superstar, but you’ll have with a model that doesn’t work 🤦♂️.
But how do we even begin inspecting large datasets of images effectively and efficiently? And can we really do it on a local computer quickly, for free?
Sounds too good to be true eh?
It’s not, with 👇
⚡ fastdup
fastdup is a tool that let us gain insights from a large image/video collection. You can manage, clean, and curate your images at scale on your local machine with a single CPU. It’s incredibly easy to use and highly efficient.
At first, I was skeptical. How could a single tool handle my data cleaning and curation needs on a single CPU machine, especially if the dataset is huge? But I was curious, so I decided to give it a try.
And I have to say, I was pleasantly surprised.
fastdup lets me clean my visual data with ease, freeing up valuable resources and time.
Here are some superpowers you get with fastdup. It lets you identify:
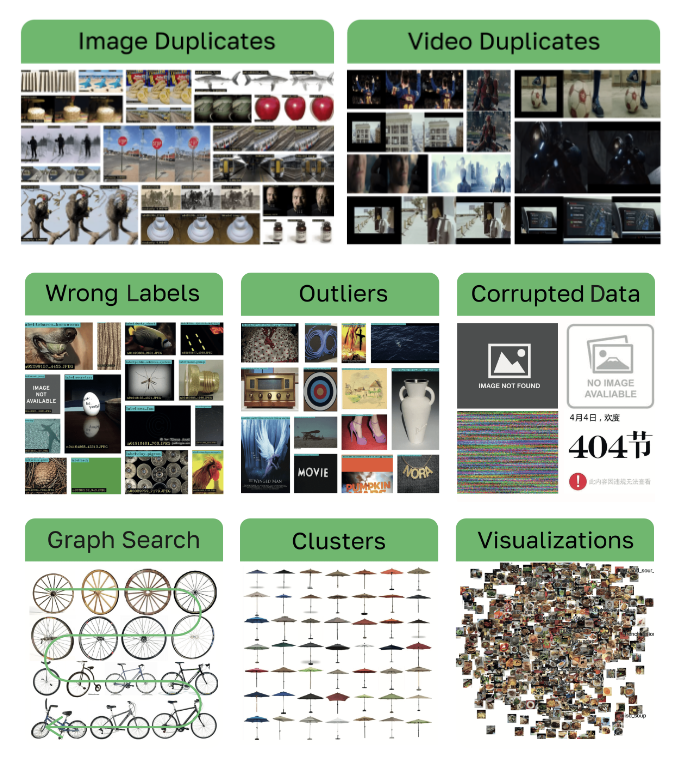
fastdup superpowers. Source: fastdup GitHub.
In short, fastdup is 👇
- Fast: Efficient C++ engine processes up to 7000 images in less than 3 minutes with a 2-core CPU (Google Colab).
- Scalable: Handles up to 400M images on a single CPU machine.
- Unsupervised: Runs on unlabeled (or labeled) image/video data.
- Cost: Basic functions are free to use. Process up to 12M images on a $1 cloud machine budget.
The best part? fastdup is free.
It’s easy to get started and use. The authors of fastdup even used it to uncover over 1.2M duplicates and 104K data train/validation leaks in the ImageNet-21K dataset here.
tip
⚡ By the end of this post, you will learn how to:
- Install fastdup and run it on your local machine.
- Find duplicate and anomalies in your dataset.
- Identify wrong/confusing labels in your dataset.
- Uncover data leak in your dataset.
📝 NOTE: All codes used in the post are on my Github repo. Alternatively, you can run this example in Colab.
If that looks interesting, let’s dive in.
📖 Installation
To start, run:
pip install fastdup==0.909
I’m using version 0.909 for this post but, feel free to use the latest version available if they are compatible.
🖼 Dataset
I will be using an openly available image classification dataset from Intel. The dataset contains 25,000 images (150 x 150 pixels) of natural scenes from around the world in 6 categories:
buildingsforestglaciermountainseatree
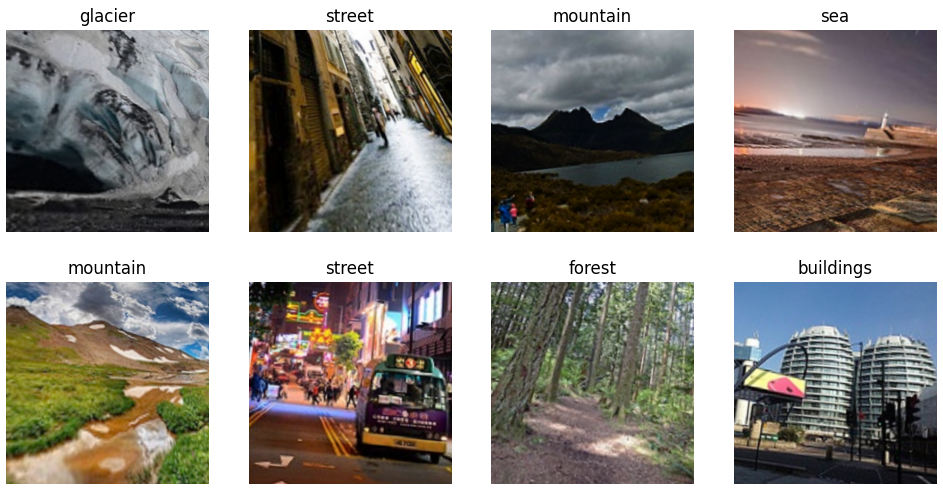
Samples from dataset.
tip
I encourage you to pick a dataset of your choice in running this example. You can find some inspiration here.
🏋️♀️ fastdup in Action: Discovering Data Issues
Next, download the data locally and organize them in a folder structure. Here’s the structure I have on my computer.
├── scene_classification
   ├── data
   │   ├── train_set
   │   |   ├── buildings
   │   |   |   ├── image1.jpg
   │   |   |   ├── image2.jpg
   │   |   |   ├── ...
   │   |   ├── mountain
   │   |   |   ├── image10.jpg
   │   |   |   ├── image11.jpg
   │   |   |   ├── ...
   |   ├── valid_set
   |   |   ├── buildings
   |   |   |   ├── image100.jpg
   │   |   |   ├── ...
   |   └── test_set
   └── report
        ├── train
        ├── train_valid
        └── valid
note
Description of folders:
data/– Folder to store all datasets.report/– Directory to save the output generated by fastdup.
📝 NOTE: For simplicity, I’ve also included the datasets in my Github repo.
To start checking through the images, create a Jupyter notebook and run:
work_dir = "scene_classification/report/"
images_dir = "scene_classification/data/"

fd = fastdup.create(work_dir, images_dir)
fd.run()
note
Parameters for the run method:
work_dir– Path to save the output artifacts from the run.input_dir– Path to the folder containing images.
📝 NOTE: More info on other parameters here.
fastdup will run through all images in the folder to check for issues. How long it takes depends on how powerful is your CPU. On my machine, with an Intel Core™ i9-11900 it takes about 1 minute to check through (approx. 25,000) images in the folder 🤯.
Once complete, a run summary will be printed out.
Found a total of 118 fully identical images (d>0.990), which are 0.16 %
Found a total of 108 nearly identical images(d>0.980), which are 0.15 %
Found a total of 11908 above threshold images (d>0.900), which are 16.31 %
Found a total of 2433 outlier images         (d<0.050), which are 3.33 %
You’ll also find a bunch of output files in the work_dir folder.
We can now visualize them accordingly.
The upcoming sections show how you can visualize duplicates, anomalies, confusing labels and data leakage.
🧑🤝🧑 Duplicates
First, let’s see if there are duplicates in the dataset with:
fd.vis.duplicates_gallery()
note
Other parameters for duplicates_gallery method:
save_path– Path to save the visualization. Defaultswork_dir.num_images– The max number of images to display. Defaults to20.
📝 NOTE: More info on other parameters here.
You’d see something like the following 👇

Here, we can already spot a few issues in our dataset. As shown below, 10234.jpg and 7654.jpg are exact duplicates.
We know that through the Distance score of 1.0.
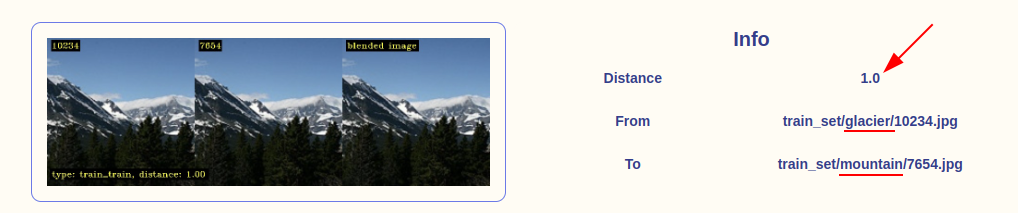
But that’s not the only problem.
They are labeled differently! One if labeled glacier and the other mountain.
If you look further there are a bunch of other duplicates too.
In this example both the duplicates belong to the train_set (see the path of the images above).
In the event they do not belong to the same set, then we have 👇
🚰 Data Leakage
In machine learning data leakage is when data from outside the training dataset is used to train the model. Read more about data leakage in machine learning here.
Can you spot any data leakage in the gallery above?
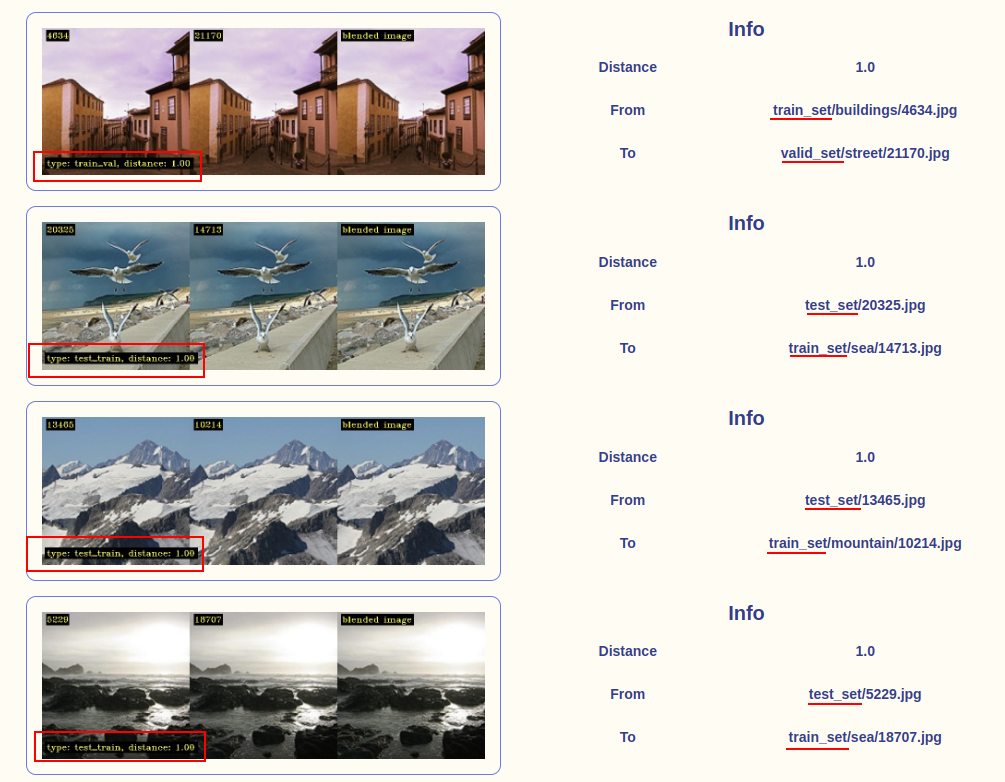
The gallery above shows that we indeed discovered a data leakage:
- Train-validation leak - Image from the training set is found in the validation set.
- Train-test leak - Image from the training set is found in the test set.
If you train a model on this data, you’d get a model that performs extremely well on the test set. Along the process, you also convinced yourself that the model is robust. When in reality, it’s not.
This is why models fail in production.
It’s because the model might just memorize the training set without generalizing to unseen data. That’s why it’s important to make sure the training and validation/test sets do not contain duplicates!
tip
- A validation set consists of representative and non-overlapping samples from the train set and is used to evaluate models during training.
- Overlapping images in the train and validation set may lead to poor performance on new data.
- The way we craft our validation set is extremely important to ensure the model does not overfit.
Spending time crafting your validation set takes a little effort, but will pay off well in the future. Rachel Thomas from Fastai wrote a good piece on how to craft a good validation set.
That’s how easy it is to find duplicate images and remove them from your dataset! Let’s see if we can find more issues.
🦄 Anomalies
Similar to duplicates, it’s easy to visualize anomalies in your dataset:
fd.vis.outliers_gallery()
You’d see something like the following 👇

Well, what do we find here? The image below is certainly a mistake.
It’s not a broken image (it’s still a valid image file) but there’s no useful information on the image for it to be in the test_set.
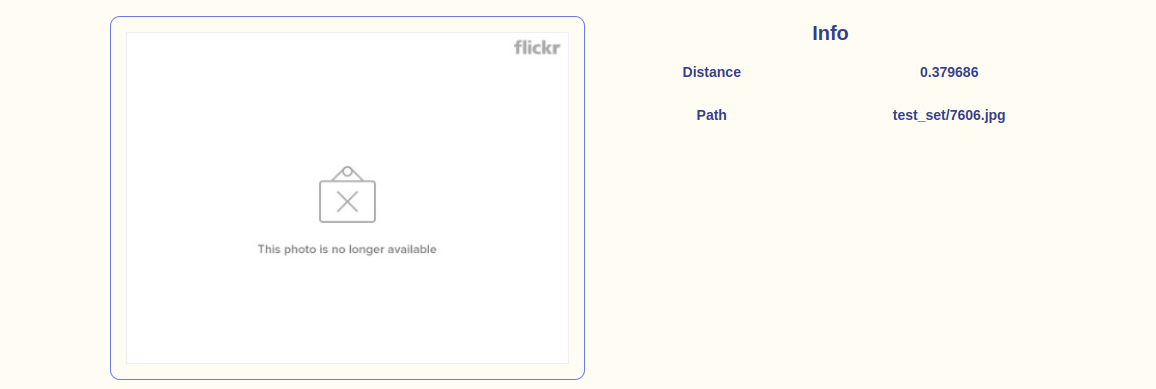
This type of image is common in large dataset such as LAION and ImageNet.
All the other images above don’t look too convincing to me either. Take a look at the images labeled as forest and glacier below.
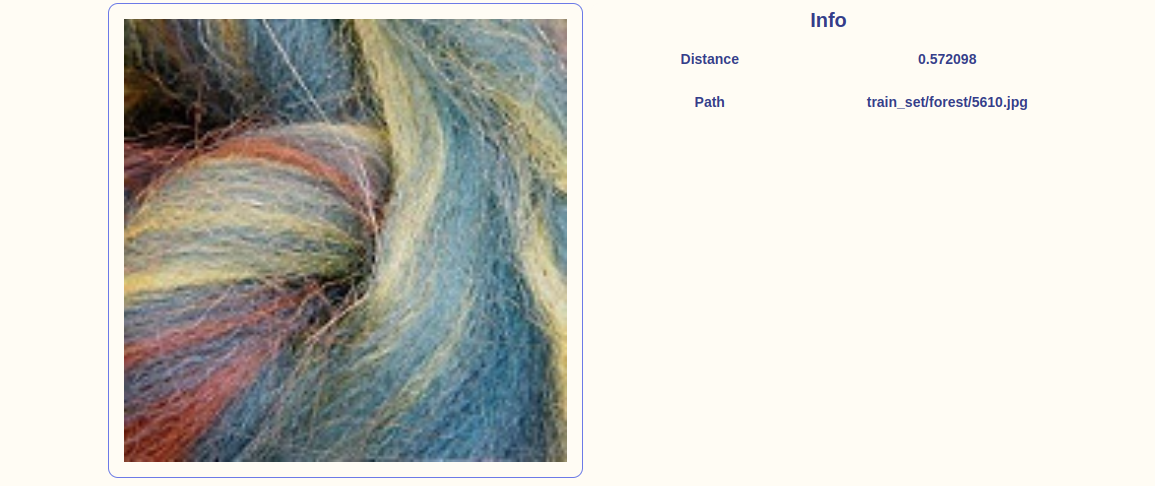
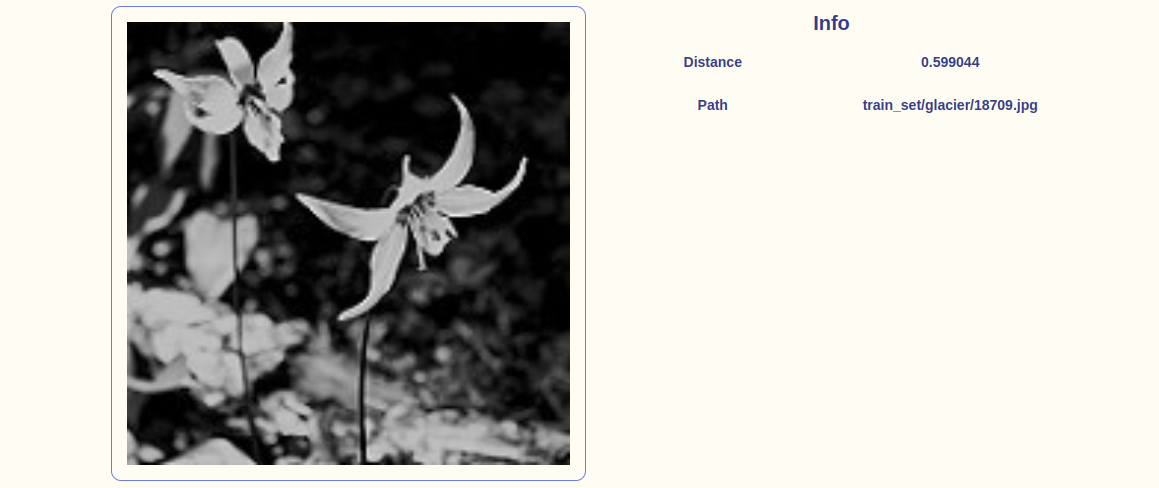
tip
Note that the lower the Distance value, the more likely it will be an outlier.
I guess you can evaluate the rest if they belong to the right classes as labeled.
💆 Wrong or Confusing Labels
One of my favorite capabilities of fastdup is finding wrong or confusing labels. Similar to previous sections, we can simply run:
fd.vis.similarity_gallery()
You’d see something like 👇

That looks like a lot of information. Let’s break it down a little.
What’s happening here is that, under the hood, fastdup finds images that are similar to one another at the embedding level but are assigned different labels.
For instance, the glacier image below is a duplicate of another image labeled mountain and another image of glacier.
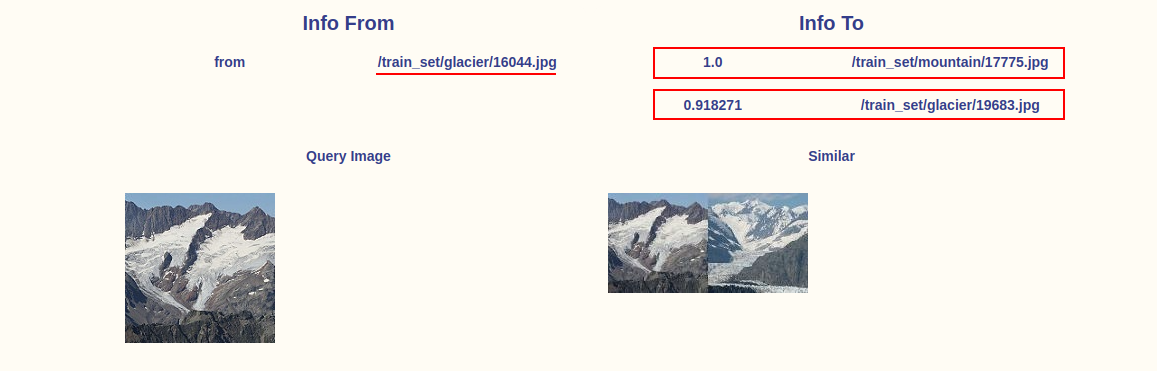
It is important to address these confusing labels because if the training data contains confusing or incorrect labels, it can negatively impact the performance of the model.
🙏 Comments & Feedback
That’s a wrap!
tip
In this post I’ve shown you how to:
- Install fastdup and run it on your local machine.
- Find duplicate and anomalies in your dataset.
- Identify wrong/confusing labels in your dataset.
- Uncover data leak in your dataset.
📝 NOTE: Find all codes follow along in my GitHub repo here.
If you’d like to remove problematic files programatically refer to my other blog post here.
By using fastdup and cleaning your dataset, you saved yourself:
- Unnecessary labeling cost.
- Long computation/training time.
- Headaches from debugging model predictions due to problems in data.
I believe fastdup is one of the easiest tools to get started for data cleaning. It’s a low-hanging fruit and ought to be in your toolkit if you’re working with image datasets.
If you’re interested to learn more, I’ve trained a deep learning classification model on the clean version of the data using Fastai. View the training notebook here. The accuracy on the validation set is approximately 94.9% - comparable to the winning solutions of the competition (96.48% with ensembling).
I hope you’ve enjoyed and learned a thing or two from this blog post. If you have any questions, comments, or feedback, please leave them on the following Twitter/LinkedIn post or drop me a message.
Cleaning image datasets is painful, esp if your dataset is huge.
— Dickson Neoh 🚀 (@dicksonneoh7) January 26, 2023
If you find yourself sifting through images for duplicates and anomalies, you're not alone. I've been there. 😭
I'll show how you can inspect large image dataset efficiently for free.
A 🧵 pic.twitter.com/2J4W6GF4fy
- GitHub
- Scholar
- Telegram
🤟 Follow me
Don't want to miss any of my future content? Follow me on Twitter and LinkedIn where I share these tips in bite-size posts.
🔄 Share this post
❤️ Show some love
Creating free ML contents doesn't pay my bills. Support me in creating more free contents like these. Consider buying me a coffee. Your support means a lot to me.
